How To Install Cabinet Handles? – A Step-by-Step Guide [2024]
Upgrading your kitchen or bathroom cabinets with new handles can dramatically change the look and feel of your space. The process might seem daunting, but with the right tools and a little know-how, it’s a DIY project that can be tackled with confidence.
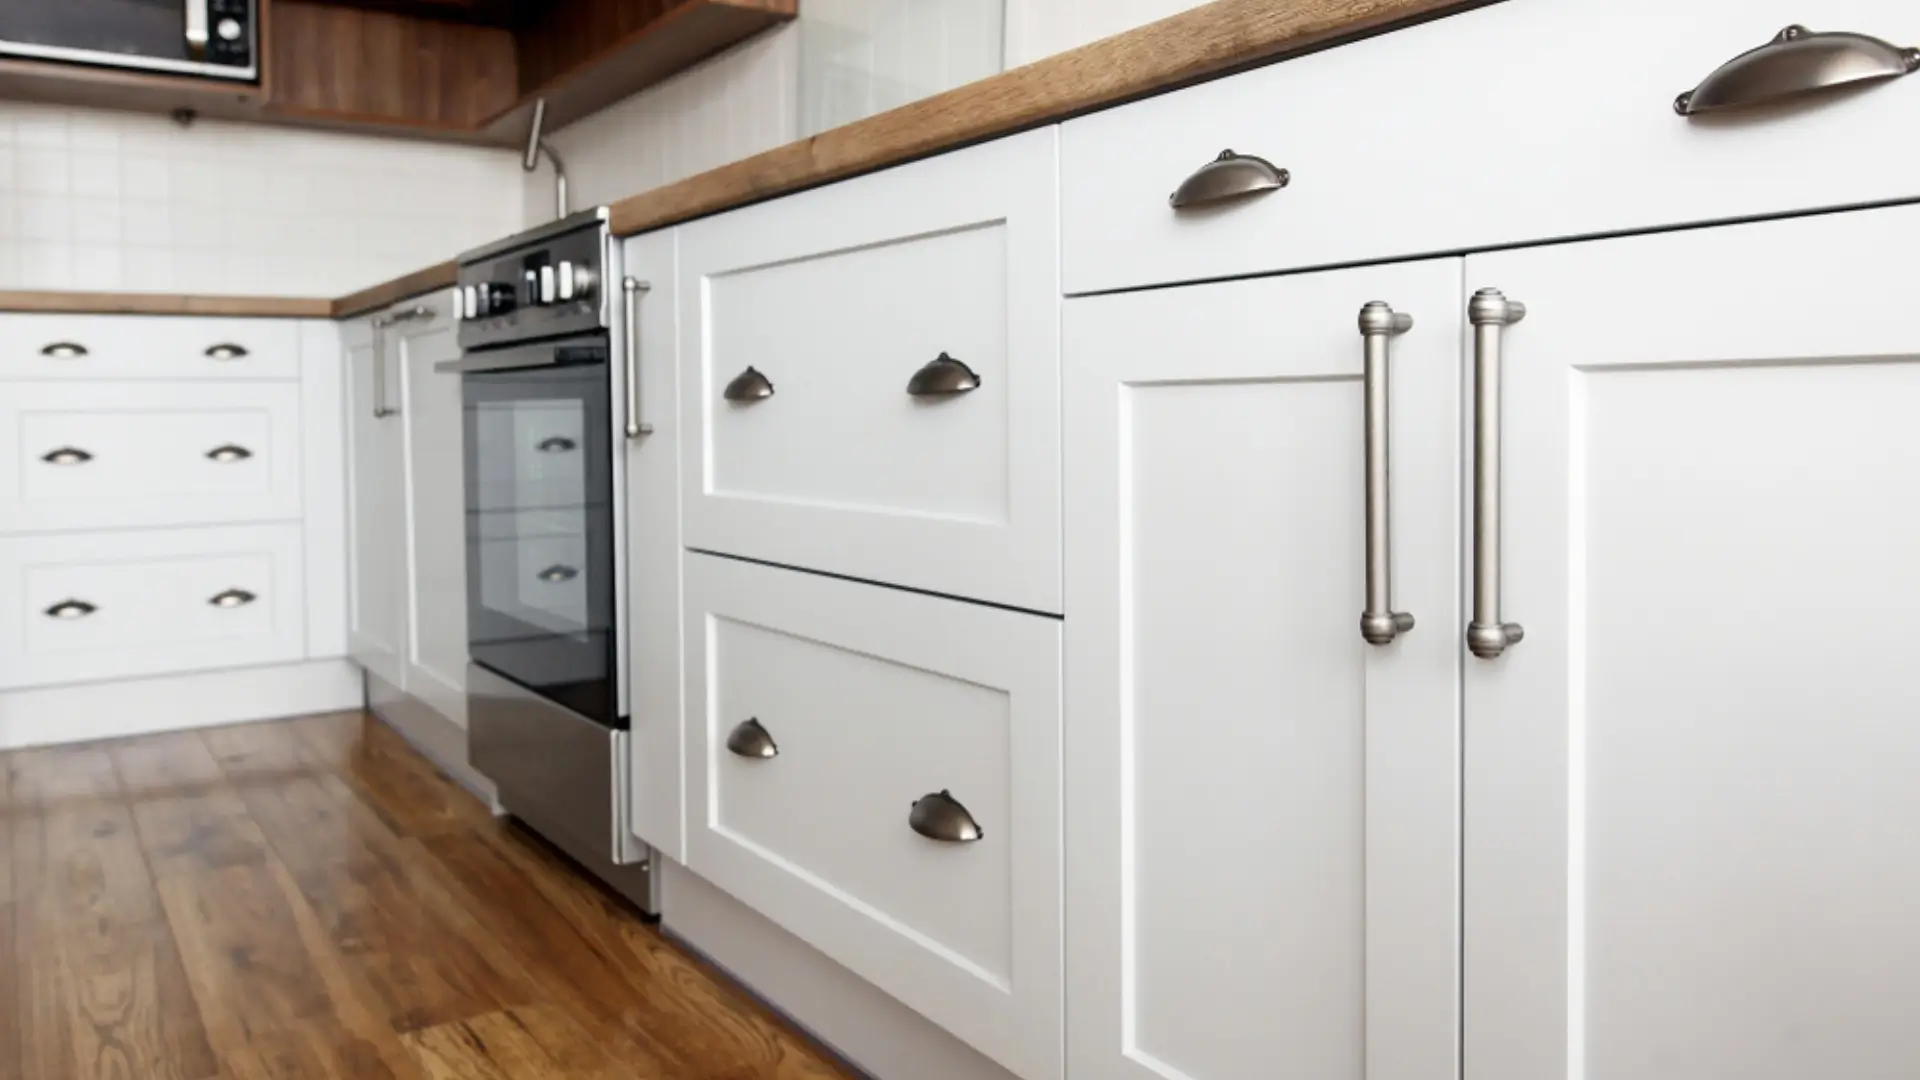
Whether you’re renovating your kitchen or simply refreshing your cabinetry, knowing how to install cabinet handles can make all the difference in achieving a polished finish. This guide will walk you through each step, ensuring your cabinet hardware is both functional and stylish.
Is it Hard to Install Cabinet Handles?
The thought of installing cabinet handles might be intimidating for some, especially if you’re not accustomed to DIY projects. However, the truth is that with some preparation and a bit of patience, adding hardware to your cabinets is relatively straightforward. The key to success lies in accurate measurements and the correct tools. By following a systematic approach, even novices can install cabinet handles that look professional and enhance the overall aesthetics of the kitchen.
How to Install Cabinet Handles?
Installing cabinet handles involves a few distinct steps: removing old hardware, measuring and marking new locations, drilling holes, and attaching the new handles. Let’s dive into each step to ensure you’re well-equipped to give your cabinets a fresh, updated look.
1) Remove the Old Cabinet Handles
Begin by removing any existing cabinet handles or knobs. This is typically done using a screwdriver to unscrew the hardware from the inside of the cabinet door or drawer. Take this opportunity to clean the surface of your cabinets thoroughly, removing any residue or buildup that might affect the placement of new handles.
2) Measure and Mark Locations for New Handles
Accuracy is crucial when positioning new cabinet handles. Use a tape measure to find the center point of each cabinet door or drawer for a single handle, or measure the desired distance between two points for handles that require two screws. Mark these locations with a pencil, ensuring they are level and consistent across all cabinets for a uniform look.
3) Drill Holes
Before drilling, double-check your measurements and markings. Using a drill bit that matches the size of your handle screws, carefully drill holes at the marked locations. It’s advisable to start with a smaller pilot hole to guide your drilling and prevent the wood from splitting. Remember to drill from the front of the cabinet to minimize chipping or damage to the finish.
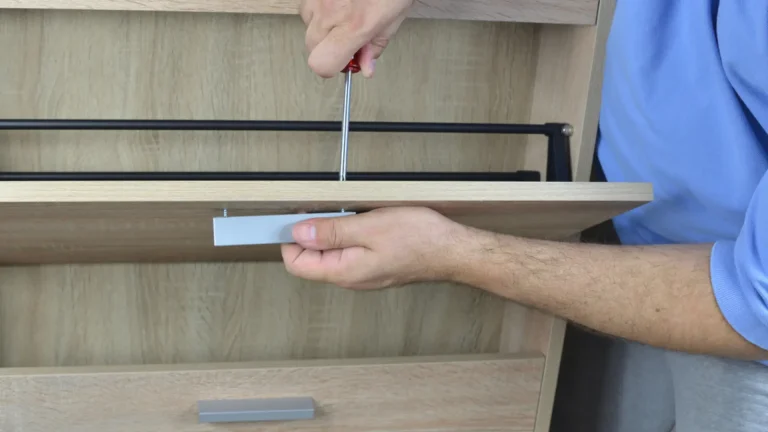
4) Install New Cabinet Handles
Align the screws with the holes on the inside of the cabinet, threading them through to the handle positioned on the front. Tighten the screws securely, ensuring the handle is firm and does not rotate or wobble. Repeat this process for each cabinet door and drawer, maintaining consistent alignment and spacing for a professional appearance.
FAQs
Conclusion
Installing new cabinet handles is a manageable project that can significantly impact the look of your kitchen or bathroom. By following these steps, you can achieve a professional and polished result without the need for specialized skills. Remember, the key to success lies in careful measurement and patience. With your new cabinet handles installed, you’ll enjoy a refreshed space that reflects your style and attention to detail.