How to Clean Painted Kitchen Cabinets: A Comprehensive Guide
Keeping your kitchen cabinets clean and well-maintained is essential for maintaining a hygienic and visually appealing cooking space. In this guide, we’ll delve into the intricacies of cleaning painted kitchen cabinets, addressing common concerns and providing step-by-step instructions to ensure your cabinets sparkle with cleanliness. Whether you’re dealing with everyday grime or stubborn stains, mastering the art of cabinet cleaning is key to preserving their beauty and longevity.
How Often to Clean Kitchen Cabinets?
Regular maintenance is crucial for preserving the pristine condition of your painted kitchen cabinets. The frequency of cleaning largely depends on factors such as kitchen usage, cooking habits, and environmental conditions. As a general rule of thumb, aim to clean your cabinets at least once a month. This routine maintenance helps prevent the buildup of dirt, grease, and food particles that can accumulate over time.
However, it’s important to adjust your cleaning frequency based on the specific needs of your kitchen. For households with high-traffic kitchens or those prone to heavy cooking, more frequent cleaning sessions may be necessary. In such cases, consider cleaning your cabinets every two weeks to ensure they remain clean and presentable.
Additionally, pay attention to signs that indicate your cabinets require immediate attention. If you notice spills, splatters, or stains on the cabinet surfaces, don’t wait until your scheduled cleaning day to address them. Promptly wipe down any spills or messes to prevent them from becoming stubborn stains that are harder to remove later.
By incorporating regular cabinet cleaning into your household maintenance routine, you can ensure that your kitchen cabinets maintain their beauty and functionality for years to come. Consistent care and attention will not only enhance the appearance of your kitchen but also contribute to a hygienic cooking environment for you and your family.
Materials Needed to Clean Kitchen Cabinets:
Before embarking on your cabinet-cleaning journey, it’s essential to gather the necessary supplies. Having the right tools and cleaning products on hand will streamline the cleaning process and ensure effective results. Here’s a list of materials you’ll need:
By gathering these essential materials before you begin cleaning your kitchen cabinets, you’ll be well-equipped to tackle dirt, grease, and grime effectively. With the right tools and techniques, you can restore the luster and cleanliness of your cabinets, transforming your kitchen into a welcoming and hygienic space.
How To Clean Painted Kitchen Cabinets?
Maintaining clean and tidy kitchen cabinets is essential for preserving their appearance and functionality. Follow these step-by-step instructions to effectively clean your painted kitchen cabinets:
Clear the Way
Before you begin cleaning, remove all items from your cabinets, including dishes, utensils, and shelf liners. This ensures unobstructed access to every surface and prevents items from getting in the way during the cleaning process.
Choose the Right Cloth
Choose a soft, lint-free cloth or microfiber towel for cleaning your cabinets. Avoid rough or abrasive materials that could scratch or damage the painted surfaces. Microfiber cloths are highly effective at trapping dirt and debris without leaving streaks behind.
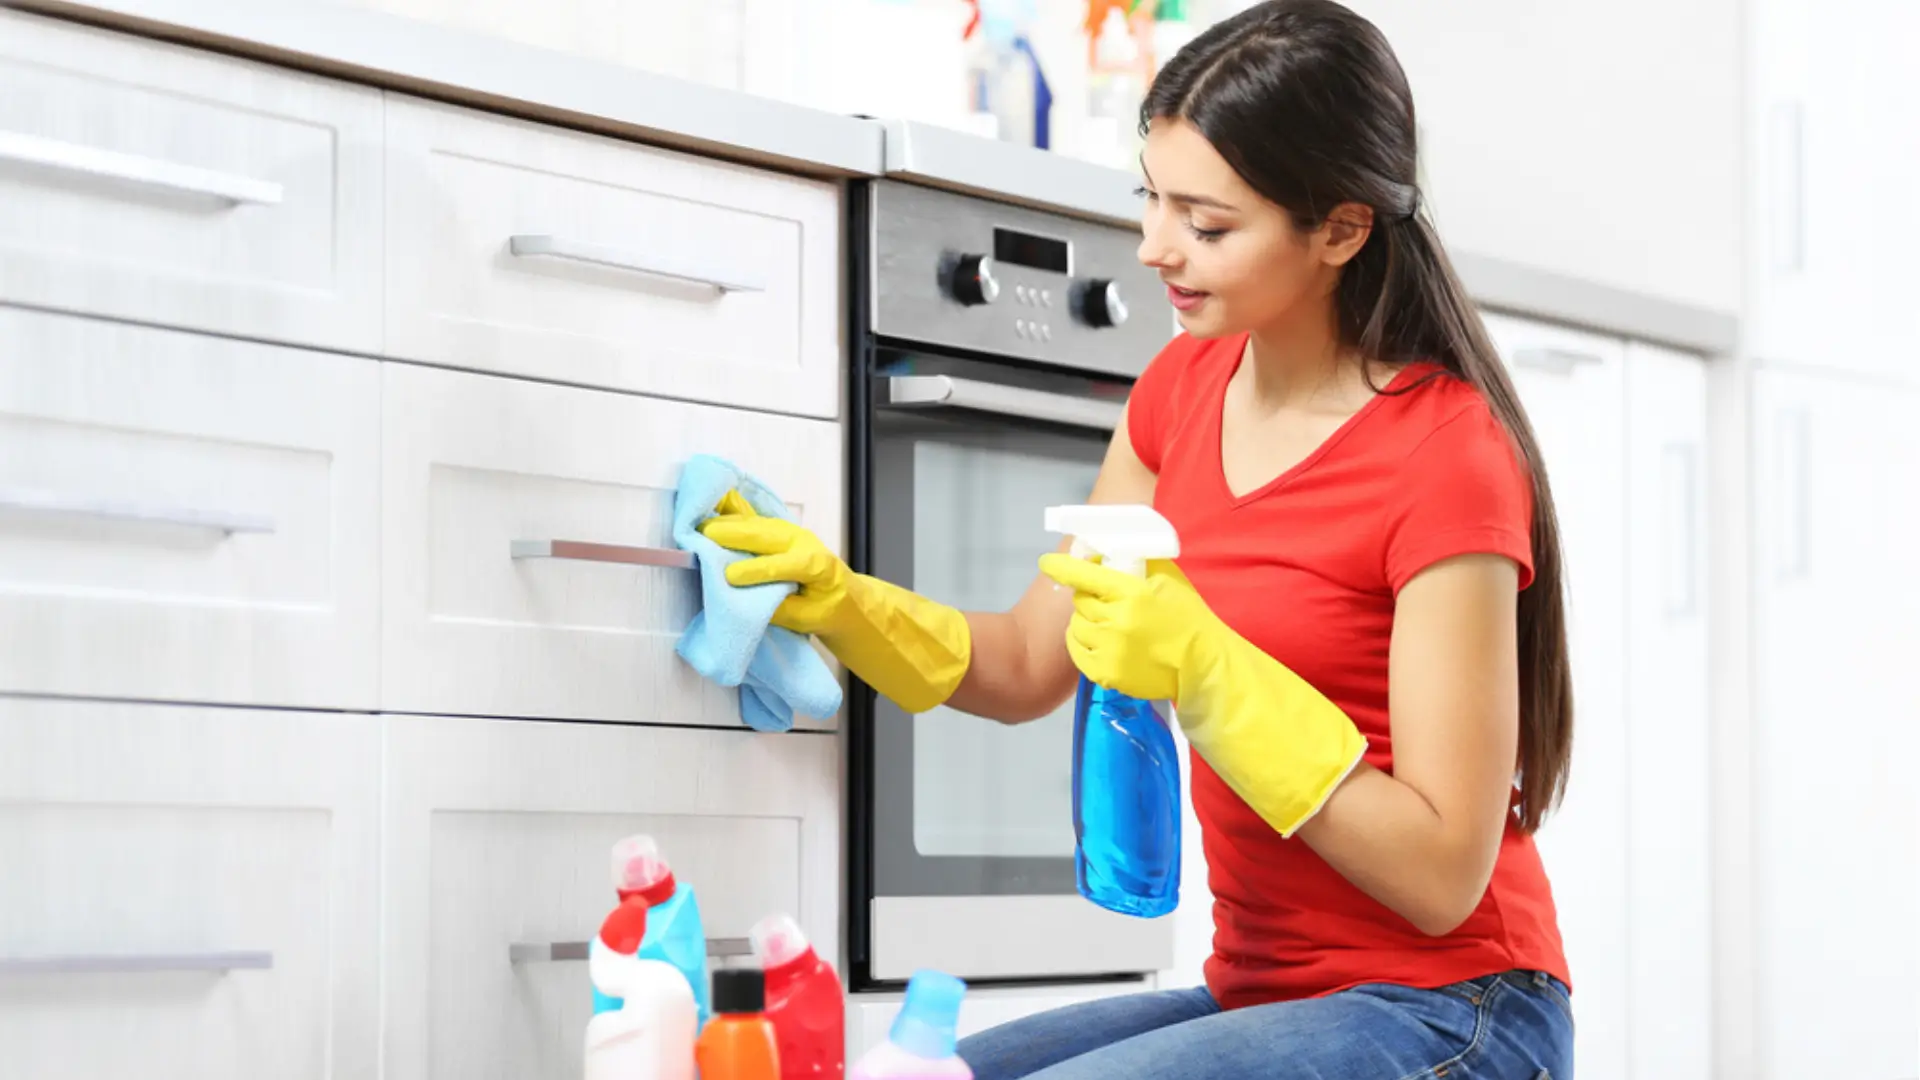
Clean the Exterior
Prepare a solution of warm water and mild dish soap or cabinet cleaner in a bucket or sink. Dip your cloth into the solution and wring out any excess water. Starting from the top of the cabinet, gently wipe down the exterior surfaces in smooth, circular motions.
Wipe the Outside of Each Cabinet
Work methodically, wiping down the outside of each cabinet door and drawer front. Pay close attention to areas prone to splatters and spills, such as around handles and edges. Rinse your cloth frequently and change the cleaning solution as needed.
Spot Clean Grease
For stubborn grease stains or buildup, add a small amount of white vinegar to your cleaning solution or use a commercial degreaser. Apply the solution to the affected areas and gently scrub with your cloth or a soft-bristled brush. Repeat as necessary until the grease is fully removed.
Vacuum the Inside
Use a vacuum cleaner with a brush attachment to remove dust and debris from the interior of the cabinets. Start at the top shelf and work your way down, paying special attention to corners, crevices, and shelf edges. This step ensures thorough cleaning and prevents dirt buildup over time.
Wipe Down Shelves
After vacuuming, use a damp cloth to wipe down the shelves and interior surfaces of the cabinets. Remove any remaining dust or residue to leave the interior clean and fresh. Allow the shelves to air dry before replacing the items you removed earlier.
Scrub the Nooks and Crannies
Use a soft-bristled brush or toothbrush to scrub hard-to-reach areas, such as hinges, handles, and grooves. Pay close attention to any intricate details or decorative elements on your cabinets. Be gentle to avoid damaging the paint or finish.
Give It a Final Dry and Replenish Shelves
Once you’ve finished cleaning, use a dry cloth to remove any excess moisture from the cabinet surfaces. Ensure that all areas are completely dry to prevent water spots or streaks. Finally, replenish the shelves with your clean and organized items, restoring order to your kitchen cabinets.
By following these steps and using the right cleaning techniques, you can keep your painted kitchen cabinets looking beautiful and well-maintained for years to come.
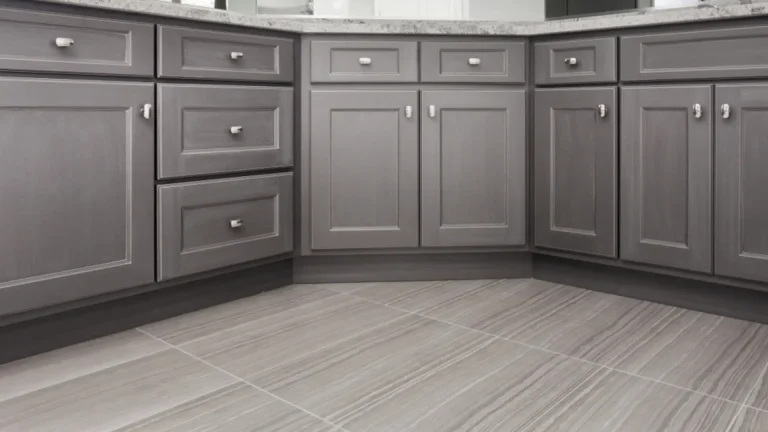
How to Clean Painted Wood Cabinets?
Painted wood cabinets add warmth and charm to any kitchen, but they require special care to maintain their beauty. Follow these steps to clean painted wood cabinets safely and effectively:
Prepare Your Cleaning Solution
Mix a solution of warm water and mild dish soap in a bucket or sink. Avoid using harsh chemicals or abrasive cleaners that can damage the paint or wood finish.
Test in an Inconspicuous Area
Before you start cleaning, test the cleaning solution on a small, inconspicuous area of the cabinet to ensure it doesn’t cause any damage or discoloration.
Clear the Way
Remove all items from your cabinets, including dishes, utensils, and shelf liners. This ensures unobstructed access to every surface and prevents items from getting in the way during the cleaning process.
Choose the Right Cloth
Use a soft, lint-free cloth or microfiber towel for cleaning your cabinets. Avoid rough or abrasive materials that could scratch or damage the painted surfaces.
Clean the Exterior
Dip your cloth into the cleaning solution and wring out any excess water. Gently wipe down the exterior surfaces of the cabinets, working in smooth, circular motions. Pay close attention to areas prone to splatters and spills.
Spot Clean Stubborn Stains
For stubborn stains or grease buildup, apply a small amount of white vinegar or a commercial degreaser to the affected areas. Use a soft-bristled brush or cloth to gently scrub the stain until it lifts.
Wipe Down Shelves and Interior
After cleaning the exterior, use a damp cloth to wipe down the shelves and interior surfaces of the cabinets. Remove any remaining dust or residue to leave the interior clean and fresh.
Dry Thoroughly
Use a dry cloth to remove any excess moisture from the cabinet surfaces. Ensure that all areas are completely dry to prevent water spots or streaks from forming.
Apply Wood Polish (Optional)
If desired, you can apply a small amount of wood polish or wax to the cabinets to restore shine and protect the finish. Follow the manufacturer’s instructions for best results.
Replenish Shelves
Once the cabinets are dry, replace the items you removed earlier, organizing them neatly on the shelves.
By following these steps and using gentle cleaning techniques, you can keep your painted wood cabinets looking beautiful and well-maintained for years to come.
How to Keep Painted Cabinets Clean?
By incorporating these habits into your cleaning routine and practicing regular maintenance, you can keep your painted cabinets looking clean, beautiful, and well-maintained for years to come.
Things To Avoid When Cleaning Your Painted Cabinets
FAQs
Conclusion
Maintaining clean and tidy kitchen cabinets is a simple yet essential task for any homeowner. By following the steps outlined in this guide and adopting proactive cleaning habits, you can ensure that your painted kitchen cabinets remain a source of pride for years to come. Incorporate these tips into your cleaning routine to enjoy a fresh and inviting kitchen environment.

![How Much Does A Small Kitchen Remodel Cost? [2024] – A Complete Guide](https://homifyco.com/wp-content/uploads/2024/01/Small-Kitchen-Remodel-Cost-768x432.webp)
![What to Consider When Remodeling a Kitchen: Essential Guide [2024]](https://homifyco.com/wp-content/uploads/2024/02/What-to-Consider-When-Remodeling-a-Kitchen-768x432.webp)