DIY Made Easy: How to Install an Over-the-Range Microwave Like a Pro
In the contemporary kitchen, maximizing space while maintaining functionality is key. One appliance that effectively meets this criterion is the over-the-range microwave. Not only does it serve as a microwave, but it also doubles as a vent hood, freeing up precious counter space. This guide aims to demystify how to install an over-the-range microwave, ensuring you can enjoy both the aesthetic and practical benefits it offers.
The installation of an over-the-range microwave might seem daunting at first. However, with the right tools and a clear understanding of the process, it can be a manageable and rewarding DIY project. This article will provide a step-by-step guide on how to install an over-the-range microwave, emphasizing the importance of external venting, the necessary equipment and materials, and detailed instructions for each step.
Why External Venting is Important?
External venting in over-the-range microwaves is crucial for a couple of reasons. Firstly, it helps in removing smoke, steam, and cooking odors from your kitchen, ensuring a cleaner and fresher cooking environment. Secondly, it prevents the accumulation of moisture, which can lead to mold and mildew problems. Unlike recirculating venting options, external venting effectively expels the air outside, making it a superior choice for most kitchens.
What You Will Need?
Equipment / Tools:
- Drill with drill bits
- Stud finder
- Tape measure
- Level
- Screwdriver
- Pencil or marker
- Jigsaw or keyhole saw (if cabinetry needs adjustments)
- Safety glasses
Materials:
- Over-the-range microwave
- Mounting bracket (usually included with the microwave)
- Screws and wall anchors (if not provided)
- Ductwork (for external venting)
- Wall and roof caps (for exhaust)
- Sealant or caulk
How To Install an Over-the-Range Microwave: Step-By-Step
Prepare the Area
Begin by removing your old range hood or microwave, if necessary. Ensure that the electrical outlet is in the correct location, ideally in the cabinet above the microwave. Measure and mark the center of the area where the microwave will be installed.
Install the Mounting Bracket
Using the stud finder, locate the studs in your wall. This is crucial for securely anchoring the mounting bracket. Align the bracket with the centerline and level it. Mark the hole locations on the wall, then drill and secure the bracket with screws.
Adjust Cabinetry (If Required)
If your cabinetry needs adjustments to accommodate the microwave, carefully measure and mark the area that needs to be cut out. Using a jigsaw or keyhole saw, make the necessary cuts, ensuring to wear safety glasses during this process.
Connect the Ductwork for External Venting
Align your microwave’s exhaust port with the ductwork. This might involve adjusting the position of the ductwork or cutting new vent holes. Ensure all connections are secure and seal any joints with appropriate sealant or caulk.
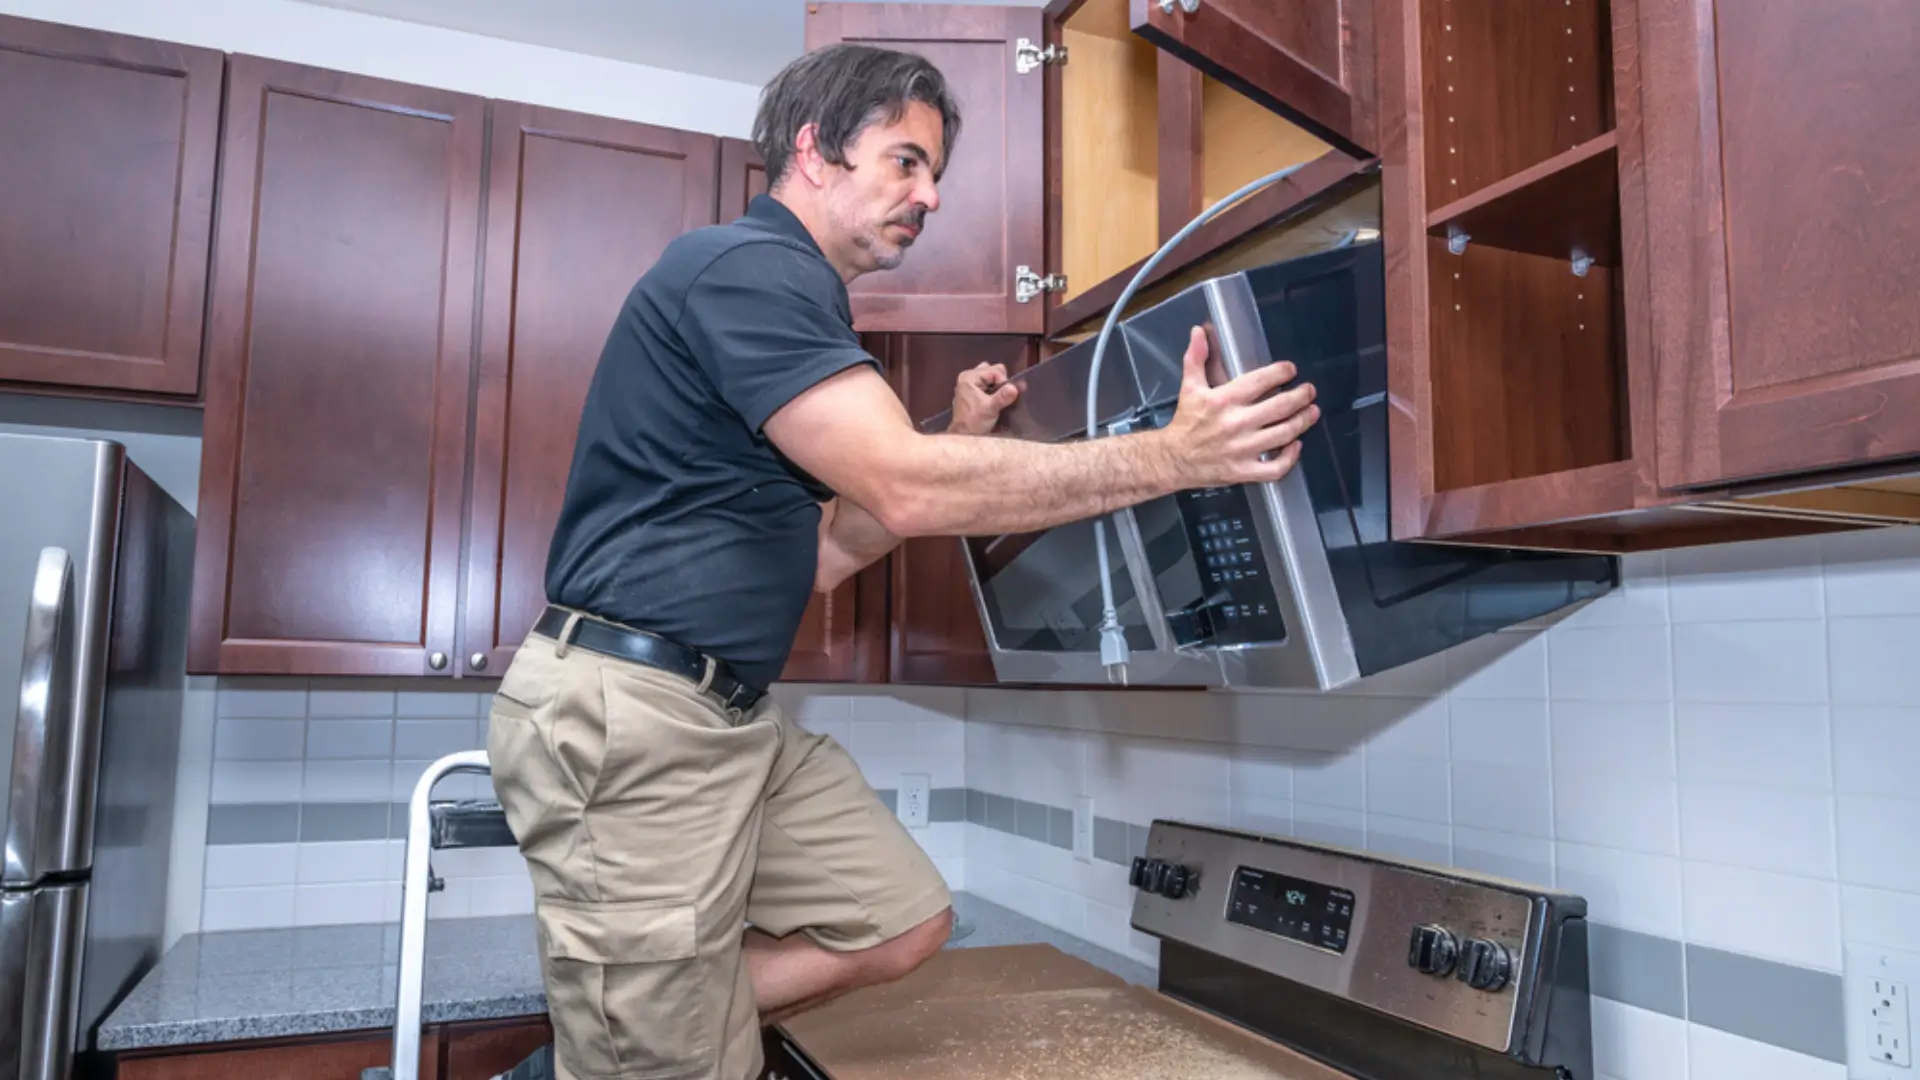
Lift and Secure the Microwave
This step usually requires two people. Lift the microwave, tilting the bottom towards you and hook the microwave onto the bottom lip of the mounting bracket. Gently swing the top of the microwave against the cabinet and secure it using the screws provided, ensuring the appliance is level.
Connect the Microwave
Plug in the microwave into the outlet in the cabinet above. Be careful to manage the cord so it does not get pinched or damaged.
Test the Microwave and Venting
Once installed, test the microwave to ensure it’s functioning properly. Also, check the external venting – turn on the vent and place your hand near the exterior vent to feel for air flow, ensuring the exhaust system is working correctly.
FAQs
Conclusion
Installing an over-the-range microwave is a valuable addition to any kitchen. Not only does it save space, but it also enhances the overall functionality and aesthetic of your cooking area. By following these detailed steps, you can successfully install your microwave and enjoy the benefits of an efficient, vented kitchen appliance. Remember, taking your time to do it right will pay off in the long run with a safe, effective, and visually pleasing addition to your kitchen.